UHF XLR Wireless Converter: When to Use It
UHF Wireless Microphone Converter XLR Transmitter & Receiver: What It Is and When It Makes Sense
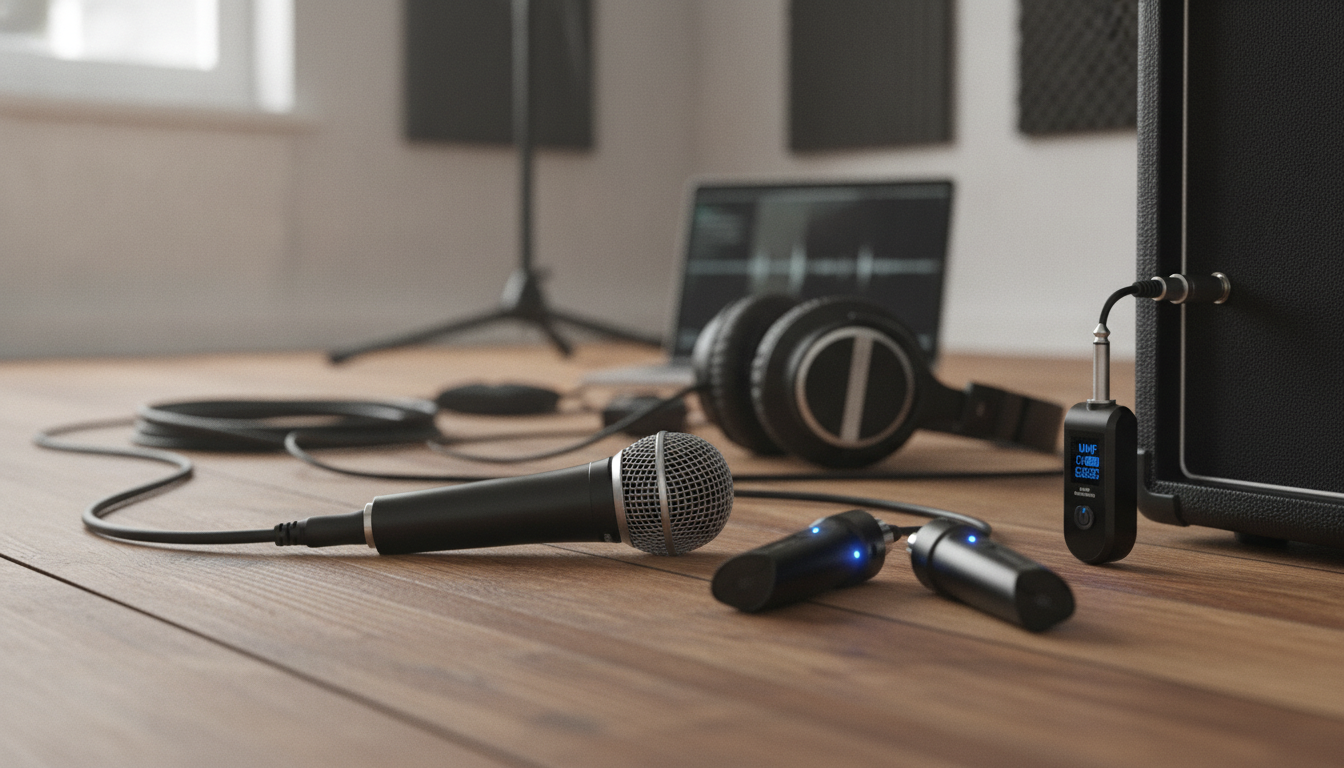
A UHF wireless microphone converter lets an XLR microphone or a mixer output go wireless without changing the rest of the audio setup. Instead of replacing a favorite mic or rebuilding a signal chain, you add a plug-on transmitter and a matching receiver to create a cable-free link. The result can be faster setups, fewer trip hazards, and more flexibility for pop-up events—when the system is chosen and configured with realistic expectations. For more guidance, see Wireless microphone – Wikipedia.
What this XLR transmitter & receiver set does
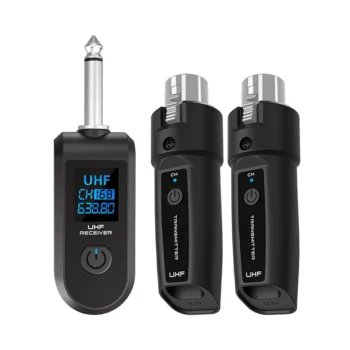
An XLR wireless converter system typically includes a plug-on style XLR transmitter and a compact receiver. The transmitter plugs into the microphone (or another XLR source), then sends the audio over UHF radio to the receiver, which outputs an XLR signal to your mixer, interface, or destination device. For further reading, see [PDF] Selection and Operation of Wireless Microphone Systems.
- Converts a wired XLR signal path into a wireless link using a plug-on transmitter paired with a receiver.
- Reduces long cable runs for stages, houses of worship, classrooms, and mobile events where quick changeovers matter.
- Turns an existing dynamic microphone into a wireless handheld option, or can send an XLR feed from a mixer to a remote powered speaker when levels and connections are compatible.
- Uses UHF operation, which is often preferred for steadier range and fewer interruptions than many basic 2.4 GHz links in congested spaces.
Because UHF systems still share real-world spectrum with other wireless devices and local RF activity, channel choices and placement can matter as much as the hardware itself. For general background on interference behavior, the FCC’s guidance is a helpful reference: FCC Consumer Guide: Wireless Devices and Interference.
Best-fit use cases
This type of converter shines when you need flexibility and speed more than a large multi-channel coordination plan.
- Speech and announcements: podiums, conference rooms, ceremonies, guided tours, and school events.
- Live music support roles: emcees, guest vocal mics, and “backup” mics that need to be deployed quickly.
- Video production: fast wire-free mic placement for run-and-gun shoots (confirm camera/recorder inputs and gain staging).
- Temporary installs: pop-up venues and events where running long XLR cables is impractical or unsafe.
- Avoid or plan carefully for: mission-critical shows with many simultaneous wireless channels, where frequency coordination and RF scanning become essential.
If you’re operating multiple wireless systems in the same venue, it can help to review education resources on coordination practices, such as Shure’s materials here: Wireless Frequency Coordination and TV Band Changes.
How to Choose the right UHF XLR wireless converter
Choosing the right converter is less about “maximum range” claims and more about matching microphone power, signal direction, and the environment it will be used in.
Microphone type and power needs
Most plug-on transmitters are straightforward with dynamic microphones. Condenser microphones are the catch: many require phantom power, and not every transmitter supplies it. If phantom power is supported, confirm the voltage and whether it’s stable under load.
Connector direction and output compatibility
Verify the transmitter is meant to accept the mic’s XLR output (common for plug-on transmitters) and that the receiver’s output matches the destination input. Also confirm whether you’re feeding a mic-level input (typical on mixers) or a line-level-only input, which may require gain adjustments or different routing.
Frequency options and channel selection
Look for selectable channels and clear pairing indicators so you can react quickly if the venue is noisy. Systems that make channel changes slow or confusing can cost time during a rushed setup.
Range expectations (real venues, real obstacles)
Walls, metal structures, and even a crowd can reduce range significantly. If the receiver is buried in a rack behind other gear or placed low to the floor, dropouts become more likely. Plan for line of sight when possible and test at the farthest distance you’ll actually use.
Latency tolerance
For spoken word, small latency is rarely an issue. For tight musical timing or when performers monitor themselves acoustically and through speakers, lower latency can feel more natural.
Battery and charging workflow
Build and handling
| What to check | Why it matters | What to confirm before buying |
|---|---|---|
| Dynamic vs condenser | Condenser mics often need phantom power | Whether phantom power is provided (and at what voltage) |
| XLR gender & signal direction | Prevents adapter surprises | Transmitter input and receiver output match the intended devices |
| Channel selection | Reduces dropouts and interference | How to change channels and re-pair quickly |
| Range in your venue | Avoids mid-event signal loss | Expected distance with obstacles and crowd present |
| Power management | Prevents shutdowns mid-use | Runtime per charge and real-world charging workflow |
Setup guide: getting clean audio fast
Managing interference and reliability
For a deeper primer on how wireless microphone systems behave and why certain placements work better than others, Sennheiser’s educational resources can be useful: Wireless Microphone Basics.
Care, storage, and long-term use
FAQ
Will an XLR wireless converter work with condenser microphones?
It depends on phantom power. Many condenser microphones require phantom power, so confirm the plug-on transmitter can supply phantom power (and at what voltage); if it can’t, use a dynamic mic or an external phantom power solution designed for your setup.
Can the receiver plug directly into a powered speaker?
Sometimes. Confirm the speaker has an XLR input and check whether it expects mic-level or line-level; then set gain so you get clean volume without noise or distortion.
What causes dropouts and how can they be reduced?
Common causes include interference on the selected channel, obstructions (people, walls, metal), excessive distance, or poor receiver placement near electronics. Try a different channel, improve line of sight, move the receiver higher/away from RF sources, and keep a wired XLR backup available.


Leave a comment
You must be logged in to post a comment.